3D rendering for musical instruments and pro audio gear

Musical instruments and pro audio gear are products people fall in love with visually before they ever hear them. A guitar's lacquer, the grain of a maple top, the machined feel of a metal knob, the glow of a synth display, the perforated grille of a studio monitor — these details carry the brand's promise of quality and craft. They are also genuinely hard to photograph consistently: glossy finishes throw reflections, small controls demand crisp macro detail, and product lines come in many colors, woods, and configurations that multiply the shot list fast.
3D rendering lets audio and instrument brands present that craftsmanship with total control and repeatability. Once an instrument is built as an accurate 3D asset, you can show every finish and color, light the lacquer exactly as you want, capture clean macros of every control, and reuse the asset across web, print, and packaging. This guide covers what makes this category distinctive, how the production works, and the mistakes that make rendered gear look plastic. The work lives within our photorealistic 3D product rendering service; for a foundation, see what is photorealistic 3D product rendering.
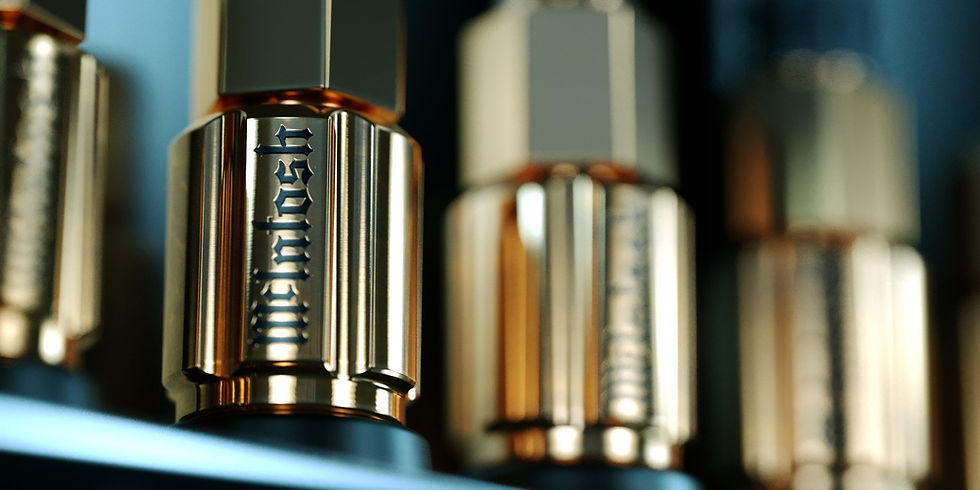
Why instruments and audio gear suit CGI
These products combine the two material families CGI handles best: reflective, precisely finished surfaces and fine functional detail. Glossy lacquer and polished metal are reflection problems, and controlling reflections is where 3D beats a studio, as covered in perfect reflections and matte containers. The same physical control that makes electronics render well — see consumer electronics 3D rendering — applies directly to mixers, interfaces, and synths.
Materials: wood, lacquer, and metal
Three material stories dominate. Wood — the grain and figure of a guitar top or a piano case — needs real texture and depth, not a flat photo pasted on. Lacquer and gloss need a layered finish that shows highlights rolling across a curved body. Metal — tuners, frets, knobs, and jacks — relies on controlled reflections and accurate machining detail. Physically authored materials are what make each read as the real thing rather than a toy version.
Controls, displays, and macros
Buyers of audio gear scrutinize the interface. That means crisp macro renders of knobs, faders, ports, and legends, plus believable self-illuminated displays and indicator LEDs. Because the asset is a real 3D scene, these close-ups are simply additional camera angles on the same model, always perfectly consistent with the hero — the kind of angle freedom we describe in 360° rotation and zoom.
The production process, step by step
A typical instrument or audio project runs in seven stages:
Inputs. Collect CAD or a physical unit to measure, finish and color options, and any decals or legends as artwork.
Modeling. Build accurate geometry — body, hardware, controls, ports, and grilles.
Materials. Author wood, lacquer, metal, plastic, and illuminated displays physically.
Lighting. Design a rig and reflected environment that flatter gloss without clutter.
Variants. Apply finish and color options on the approved base model.
Rendering. Produce hero, angle, and macro control views.
Finishing. Composite and retouch, then deliver per channel.

A typical scenario
A brand launches a synthesizer in three colorways and needs a hero, a top-down control view, and three macro detail shots for each, plus a lifestyle image for social. As a shoot, that means wrestling gloss reflections and re-lighting for each finish. In 3D, the team models the synth once, designs a clean reflected environment, and renders all three finishes with matched lighting and identical macros, then reuses the asset for the lifestyle frame. New finishes later reuse the same model — the efficiency we quantify in one 3D model = 500 marketplace photos.
Common mistakes to avoid
The usual failures: lacquer that looks like flat paint because the finish isn't layered; wood applied as a flat texture with no grain depth; metal controls reflecting a messy environment; and displays that look printed rather than emissive. Soft, low-detail macros undercut a product whose appeal is precision. Physically authored materials, a designed reflected environment, and sharp dedicated macros address all of these.
Getting started
Start with your flagship instrument or unit in one finish and lock the two hardest things — the gloss/lacquer treatment and the control macros — before scaling to colors and configurations. Provide CAD or a physical unit, finish options, and legend artwork so the first render is accurate. If you are comparing this to a studio for a full line, 3D rendering vs photography and our photorealistic 3D product rendering service are the right next reads.
Frequently asked questions
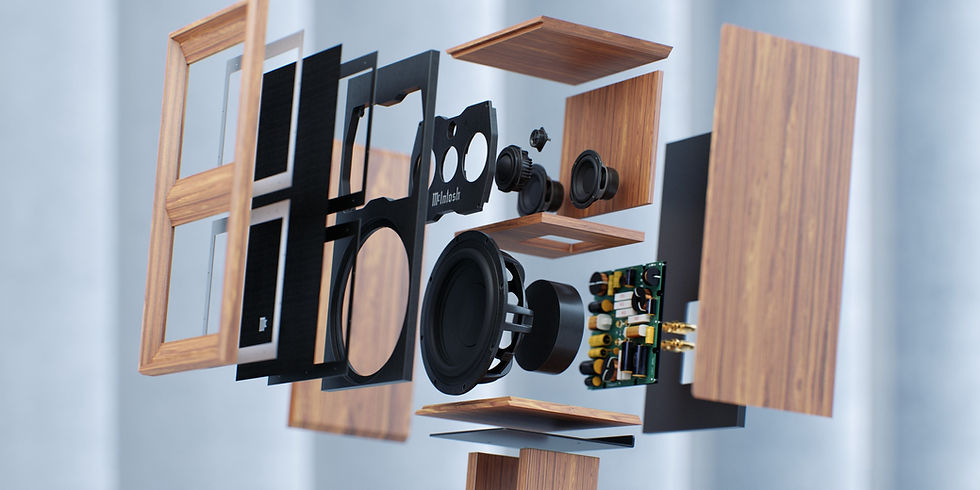
Can you make lacquered wood and gloss finishes look real?
Yes. Lacquer is authored as a layered physical material and wood carries real grain depth, so highlights roll across the body the way they do on the actual instrument.
Are macro shots of knobs and ports possible?
Yes — macros are additional camera angles on the same accurate model, so every control close-up stays perfectly consistent with the hero image.
Can displays and LEDs be shown lit?
Yes. Screens and indicators are built as self-illuminated elements, so a synth or interface can be shown powered on and believable.
How do finish and color variants work?
Once the base instrument is modeled, finishes and colorways are material swaps on the same asset, keeping the whole line consistent.
What do you need to start?
CAD or a physical unit to measure, your finish and color options, and any decals or control-legend artwork.


