3D Rendering for Trade Show Booths and Exhibition Stands

Updated: Aug 6
A trade show booth is a large, one-shot investment built against a hard deadline — and once it is fabricated, there is little room to fix mistakes. 3D rendering lets brands and stand builders see the finished stand before committing to build: layout, branding, lighting, materials, and visitor flow, all visualized from the design. That turns an expensive leap of faith into a decision made with confidence, and it doubles as a powerful tool for winning the project in the first place.
This guide covers how booth rendering works step by step, where it de-risks a project, how builders use it to sell, common mistakes, and what to prepare for an accurate result.
Design and approve before build
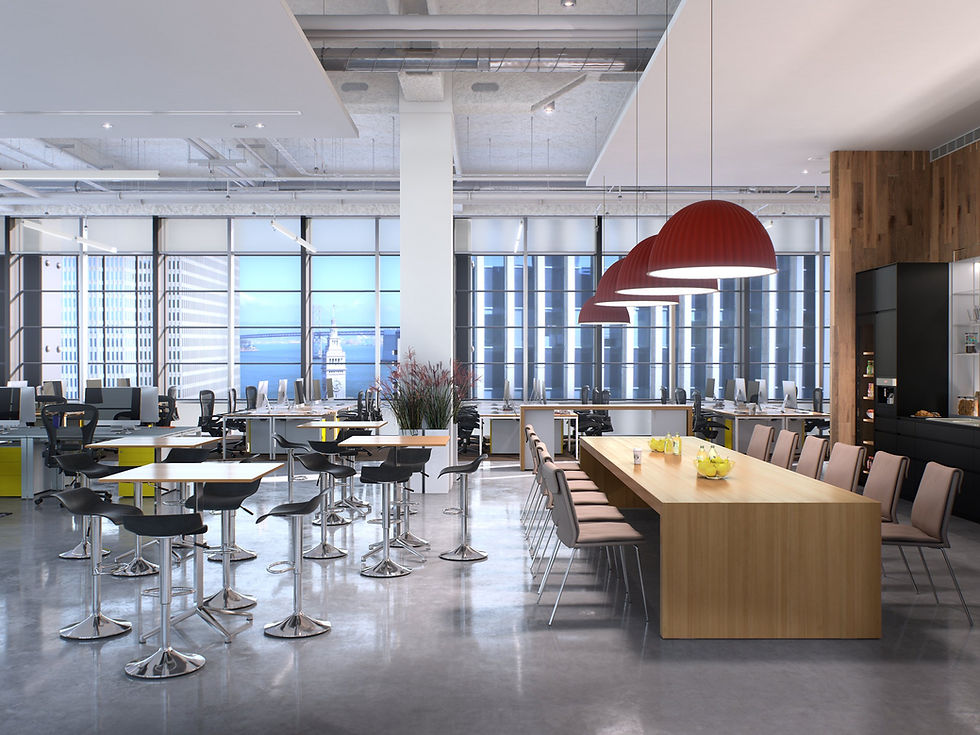
Photorealistic renders turn a floor plan and design concept into a space you can almost walk through. Stakeholders — brand, marketing, and the build team — can approve materials, signage, product display zones, and layout with a shared, realistic reference. Problems with sightlines, branding placement, or flow surface while changes are still cheap on screen, not costly on the show floor.
The production process, step by step
Inputs: collect the stand design or floor plan, brand assets and guidelines, product models or references, and material specs.
Modeling: build the booth structure, fixtures, displays, and signage.
Materials and lighting: author finishes and set show-floor and feature lighting.
Hero angles: establish the key views for approval and pitching.
Review: approve layout, then materials and lighting.
Output: render hero views, detail shots, and optional walkthrough animation.
Win the pitch
For exhibition agencies and stand builders, renders are a sales tool as much as a design one. Showing a client exactly what they will get — in context, with their branding and products — is often what wins the project against competitors presenting flat drawings. The same visuals then guide fabrication and brief the on-site installation team, so the built stand matches the sold concept.
What gets rendered
Full booth views and key hero angles for approval and pitching.
Branding, signage, and messaging placement in context.
Product display zones and demo areas.
Lighting mood, including how the stand reads on a busy show floor.
Visitor flow and circulation through the space.
Detail shots of materials, finishes, and custom features.

A typical scenario
An agency is pitching a 6x6 metre island stand to a client. Instead of presenting flat plans, they show photorealistic renders of the stand with the client’s branding, a central product demo zone, and warm feature lighting, plus a short walkthrough. The client approves confidently, requests one layout tweak — moving the meeting area for better flow — which is changed in the model in an afternoon, and the approved renders then brief the fabrication and install teams.
Iterate cheaply, then commit
Because the stand exists digitally first, options are cheap to explore — a different layout, an alternate material, a repositioned hero product — before anyone commits to fabrication. That iteration is where rendering pays for itself: catching a flow or branding issue in the model costs a revision, while catching it after build costs a rebuild or a compromised presence at the show.
Beyond the show
The assets have a second life. Renders of the stand can be used in pre-show promotion, invitations, and social to drive booth traffic, and afterward in case studies and pitches for future events. One visualization effort supports design approval, sales, on-site build, and marketing around the event.
Common mistakes to avoid
The usual issues are approving on plans alone and leaving lighting as an afterthought. Show floors are visually noisy, so lighting and sightlines make or break how a stand reads; review them in the render, not on the day.
Getting started
Prepare the stand design or floor plan, brand assets, product models or references, and material specs (see the file input every CG production company needs). The approach mirrors retail and store design rendering and interior rendering. See our 3D product rendering services.

FAQ
Can renders show branding and signage accurately?
Yes. Logos, graphics, materials, and lighting all render precisely, so approvals reflect the real stand rather than an approximation.
How does this reduce risk?
By surfacing layout, flow, and design issues before fabrication, when changes cost a revision — not on the show floor, when they cost a rebuild.
Can builders use renders to win clients?
Yes. A photorealistic preview of the exact stand is often more persuasive than flat drawings and helps win projects against competitors.
Can we reuse the renders for promotion?
Definitely. Booth renders work for pre-show promotion, invitations, social, and post-event case studies.
Do we need a full design first?
A design or floor plan is the starting point; rendering can then help evaluate and refine layout and materials before fabrication.


